So you found the perfect B-body and it has a bench seat and a column shifter, not quite the muscle car you envisioned? Well the cure is pretty simple in theory, install a set of bucket seats, a console and floor shifter and away you go.
So how do you get there?
In this article you can follow me as I prepare my 70 Satellite for bucket seats brackets and a console.
Step 1. You will need to acquire the parts needed to complete the conversion.
In this article I am only going to address the seat floor bracket installation. If you are going to a floor shifter then you will want to complete the transformation and eliminate the column shifter mechanism. But that will be a topic for another post.
There are several sources you can use to locate the parts you need.
First, let’s be honest and just say that the odds of finding a junk yard set is near zero not to mention a host of other issues you may have getting them out.
Your second option is look for a used set that someone else has cut out; there are drawbacks like bent or rusty parts and they may be very proud of their parts and the labor spent to remove them.
A third option and the most viable one these days are to check with a restoration parts supplier and just buy them. These will be ready to install and shipped quickly to your door.
In this article I am covering the early B-bodies. They make the bucket seat brackets for later B-bodies and A-bodies as well and although they may look a little different they will install in a similar fashion.
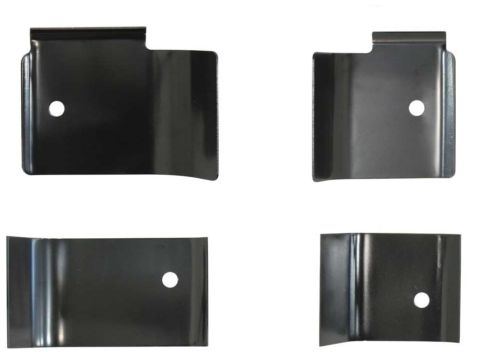
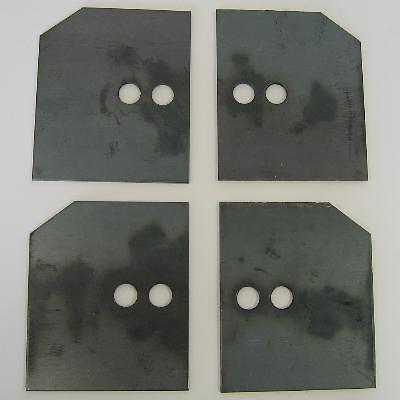
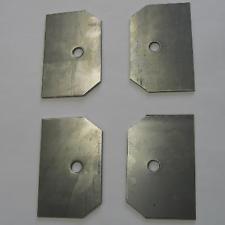
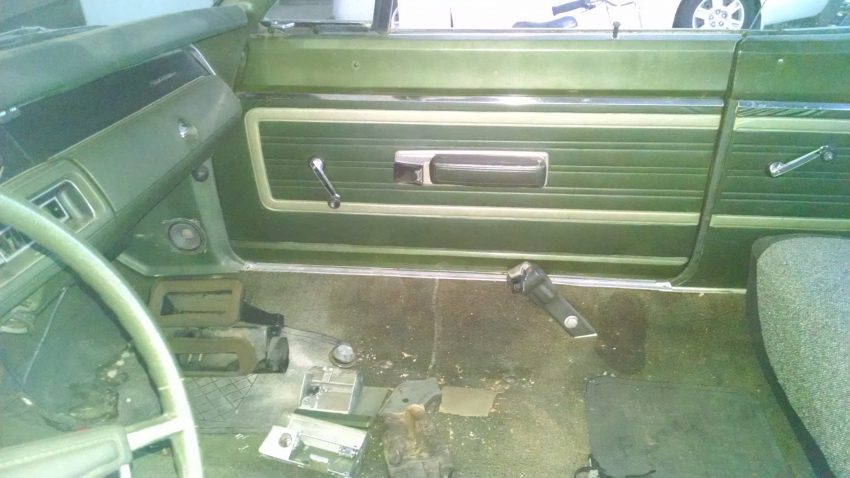
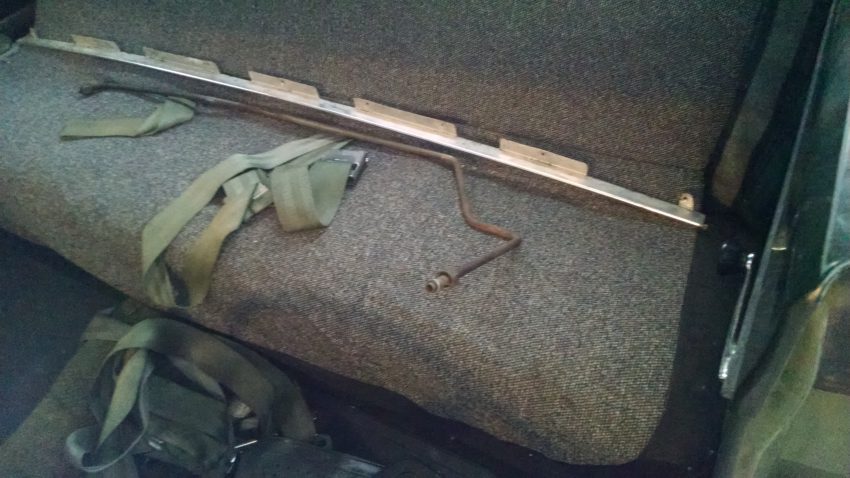
Step 2. Since these brackets were originally welded in, you will have to remove the current seats front and rear, carpet and at the very least the middle seat belts.
There are other areas you will need to protect if your car is still complete. You will have to watch your dash and insulation, and protect your front windshield, rear glass and door glass. Glass is ruined
very easily when it comes in contact with hot welding and/or grinding fragments so make sure you protect them.
You may also want to place a metal pan under your car in the area of the welded brackets to catch melted undercoating as it will possibly catch fire and melt to your garage floor. Always have a fire extinguisher and/or a source of water around just in case the unimaginable happens. Just a side note here, if your carpet is worn and needs replacing, this is a great time to consider doing it.
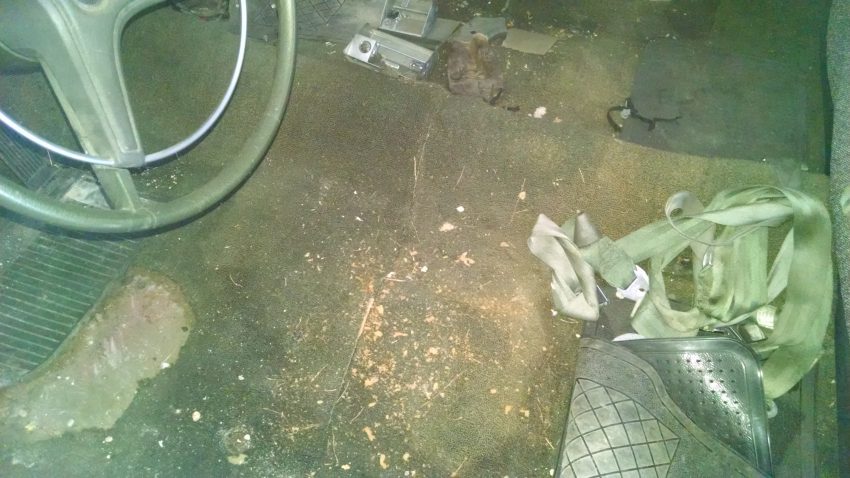
Step 3. Ok, so you now have your area prepped and safely protected and you’re ready to start the install of the seat brackets.
These will have to be installed first as the rear console bracket welds to the top of the back floor bracket.
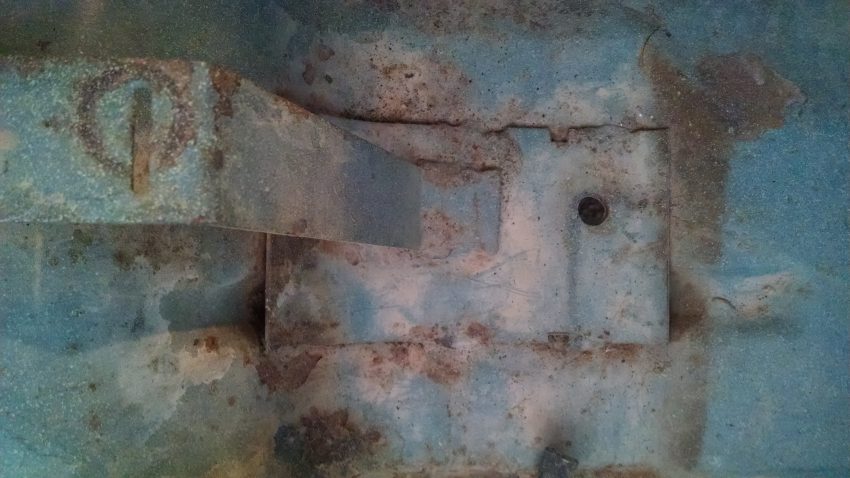
The location of the seat brackets is easy to find. The factory was kind enough to dimple the floor where the seat tracks go through and these will have to be drilled first.
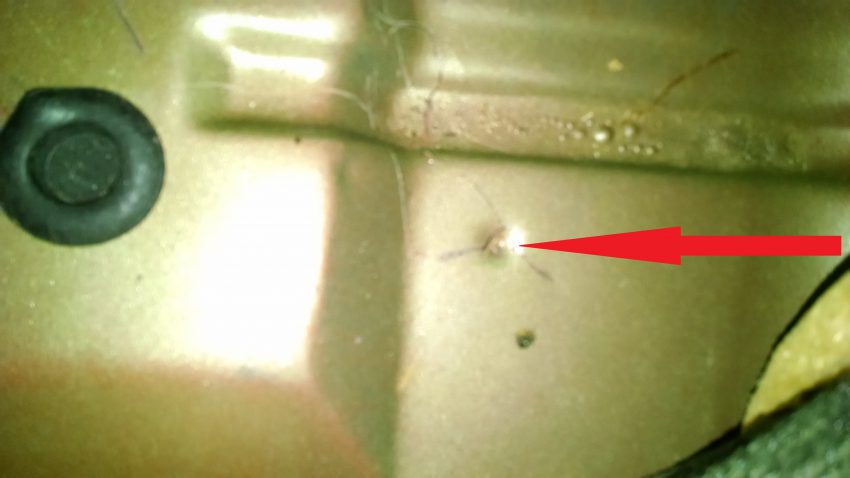
I use a step drill bit and drill to the 3/8 size. You can use a smaller standard bit and work up to 3/8 as well. You will have to clean up the hole under the underside if you use the step bit.
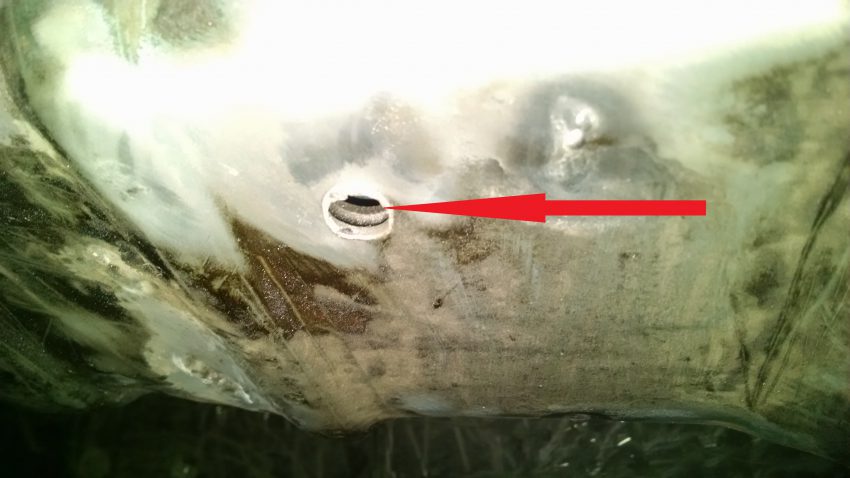
I just use an air angle grinder to knock off the extra metal.
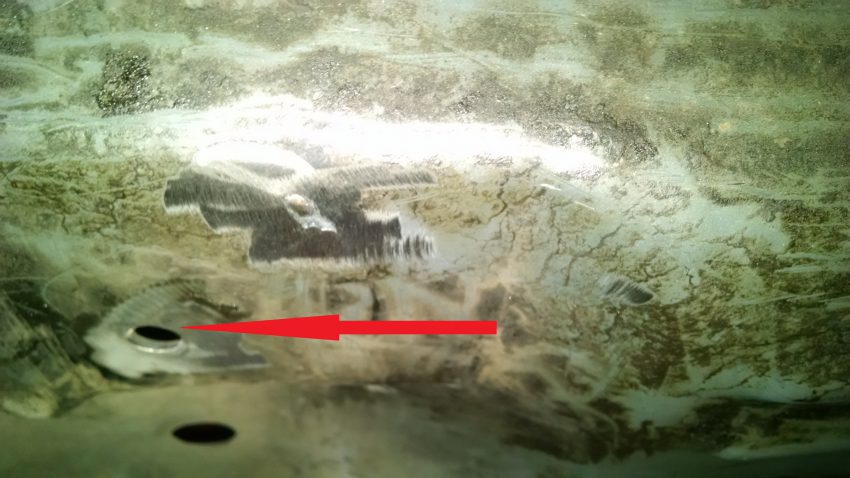
Step 4. The 4 brackets are all different and unique to their location.
The front two will have an extra angle to fit the last groove in the floor pan. Just check out my left side and right side pictures of an original set to make sure. Once you find the right bracket for each location place them over the holes you drilled to line them up.
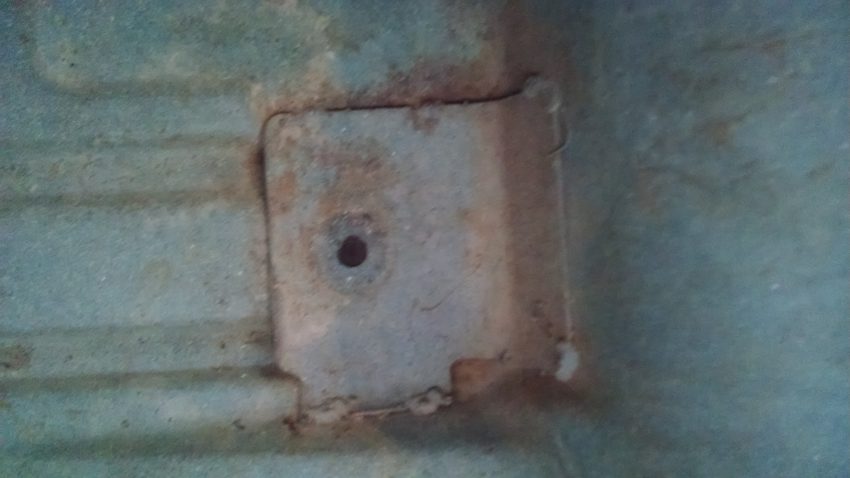
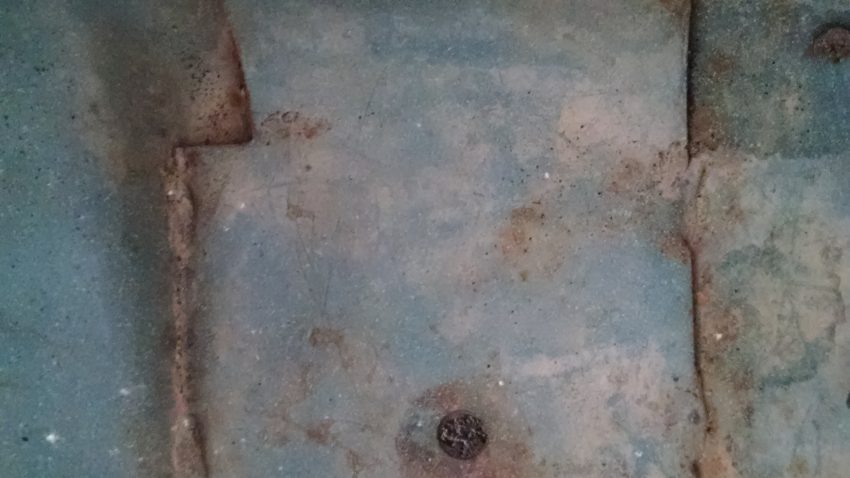
I used a tapered alignment tool to keep it center over the hole, you can use anything that will keep the plate centered in the hole. Now you can see if the brackets fit properly in their places, you may have to tweak them a bit to get them to lay flush to the floor.
Step 5. Now that you have your brackets fit to their prospective locations you just need to prep them for welding.
I will use my air angle grinder or a 4 inch grinder to clean off the paint on the bracket and floor to give yourself a good clean spot to weld.
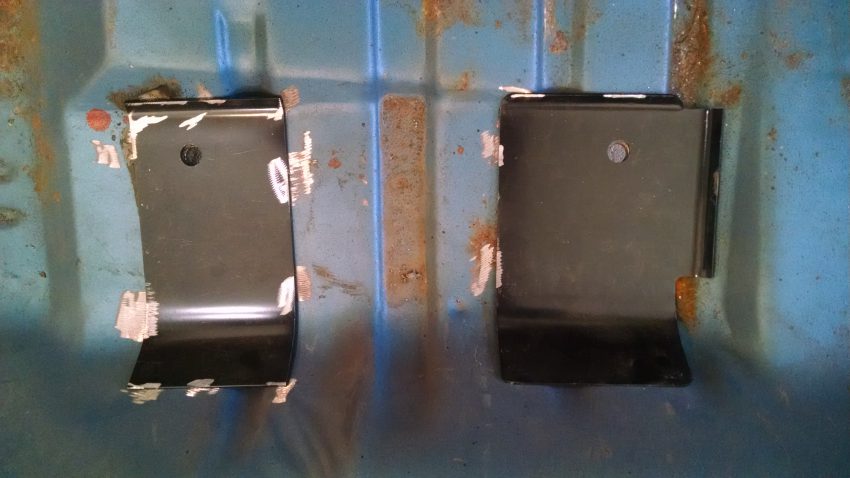
You don’t have to get to crazy here 4 to 6 weld points will be plenty to hold them in place.
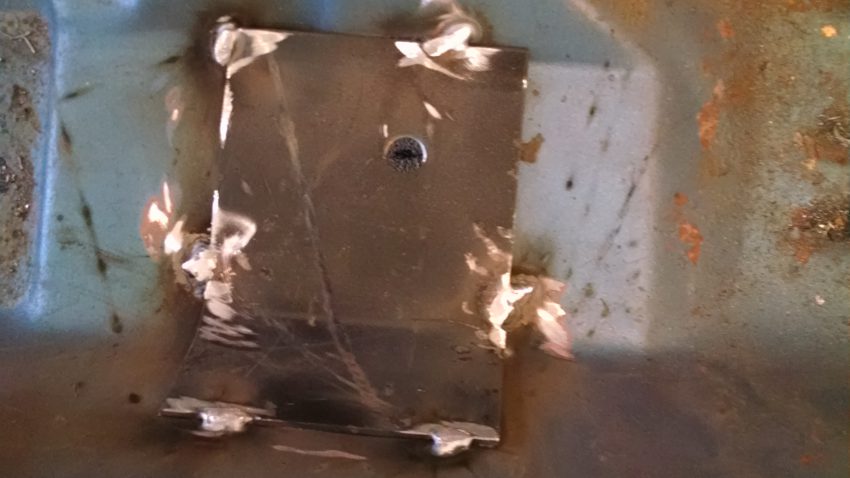
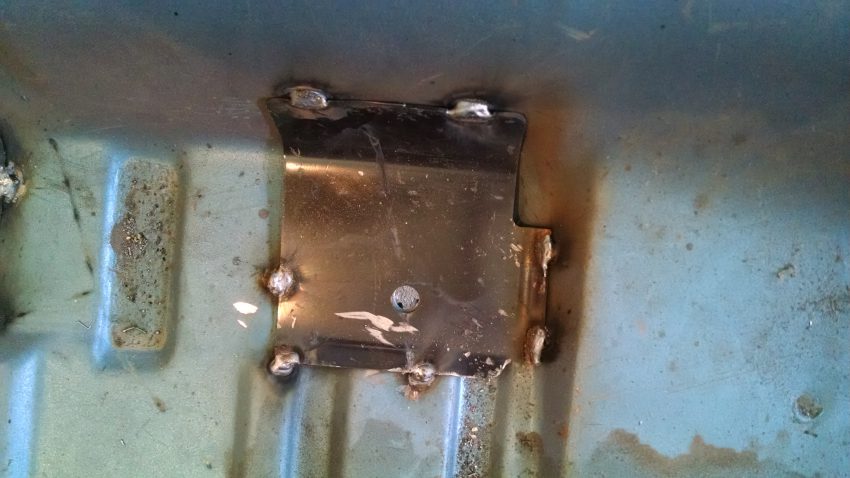
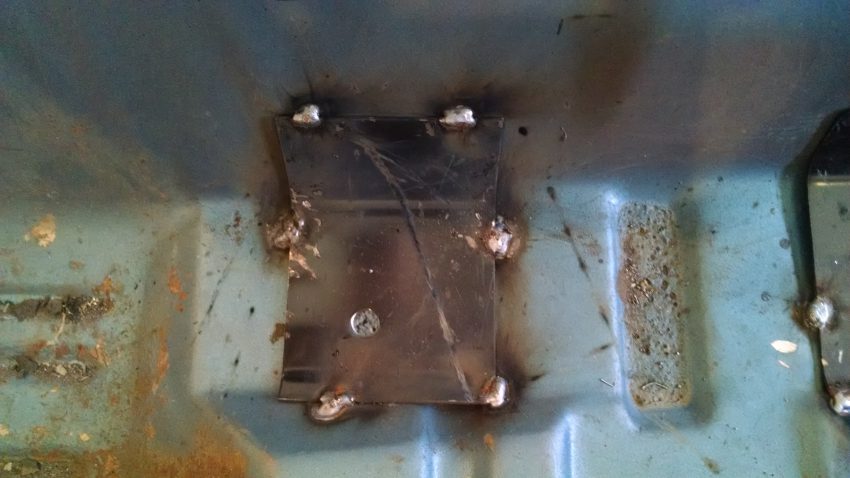
You will of course need a wire feed welder to get these installed properly. In my early days I was not fortunate enough to own one so I used self tapping screws to hold them in.
Let’s hope you have one or know someone that can help. After the brackets are welded in I clean up the welds with my air grinder and touch them up with a little self etching primer.
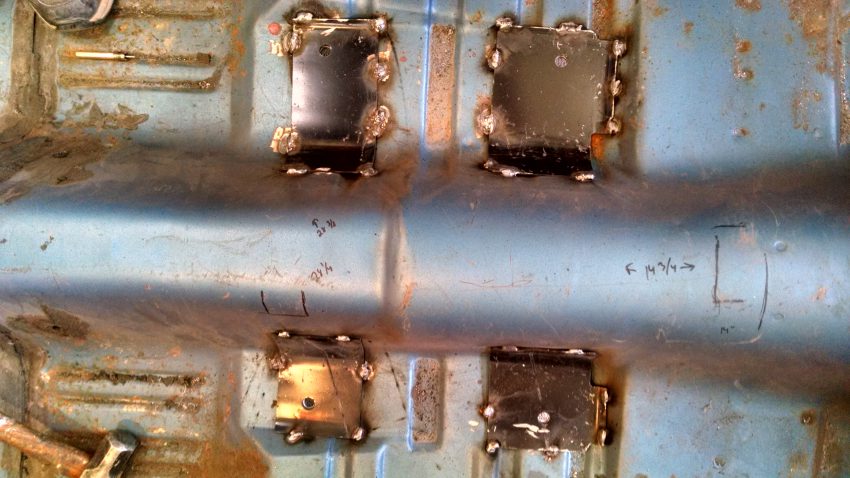
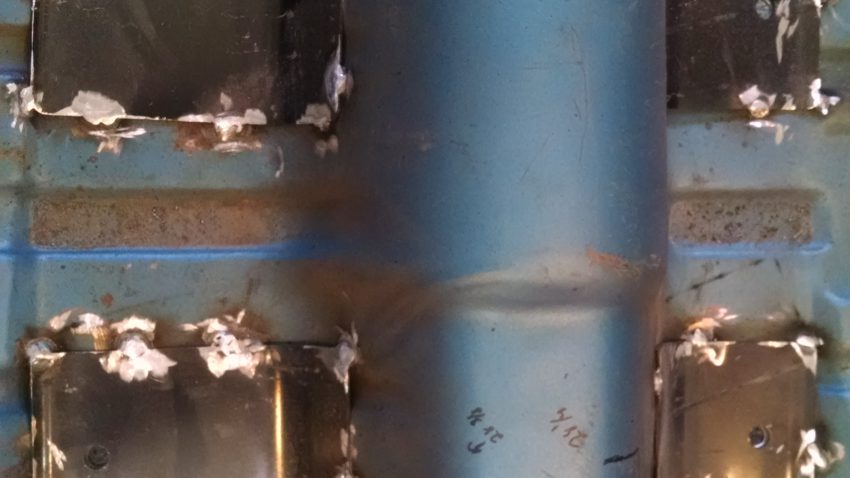
I didn’t touch on any floor preparation before you installed these but you might want to use a brand of durable paint under the brackets and on the floor areas themselves to make sure that they will never rust. Now you are ready to install the console brackets which I will cover in my next post.
I hope that you have found this article “My 5 Easy Steps to 1966-1970 Mopar B-body Bench Seat to Bucket Seat Brackets Installation!” to be helpful. There is just not a lot of information out there regarding this installation.
If you have anything to add or just want to let me how your install went, I would appreciate the feedback.
Liked what you see here? Please continue to follow me at moparrestorationparts.com for more of my how to posts and good fun as I work to get that rubber on the road again.
GTXJohnC