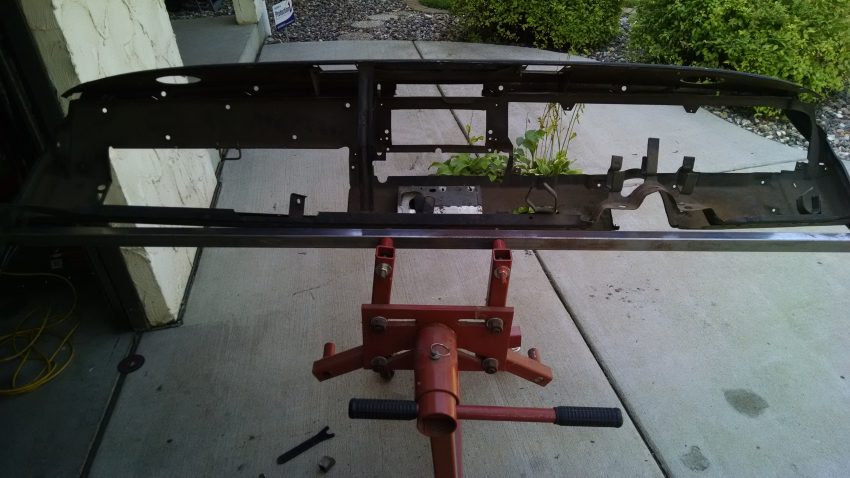
 Some of the best and most useful auto restoration tools can be made at home with a little good old fashion ingenuity. Although these particular measurements are for a 1966- 1970 Mopar B-Body, the same principles can apply to many other makes and models.
At some point during your restoration you will want to work on or detail your dash components. I have found that it is almost impossible to get all the plastic parts, pads, switch panel and instrument cluster parts off a B-Body dash frame while it is still in the car.
So, what I came up with was a simple solution using some components that I had laying around, some 1 inch square tubing that I had used for bracing, and my extra engine stand.
Now pulling a dash from your B-body is an involved process.
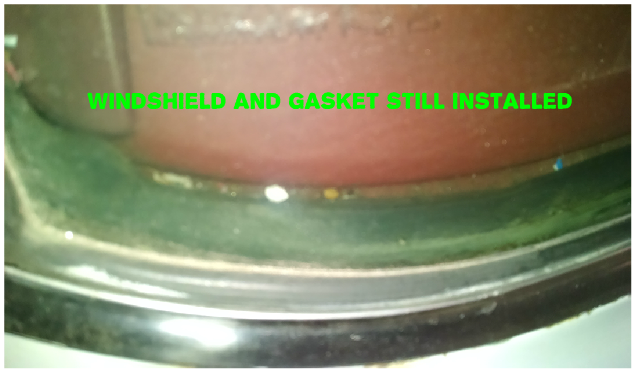
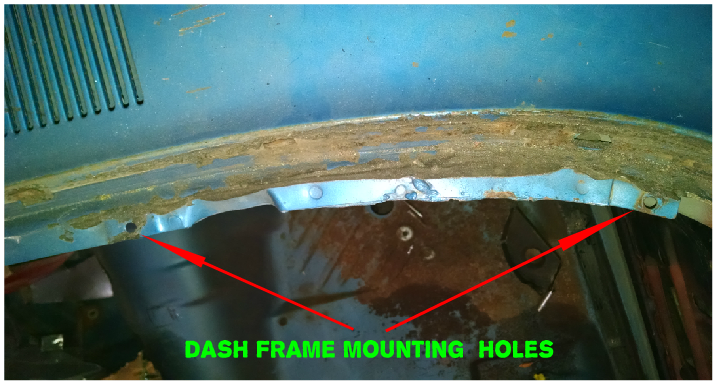
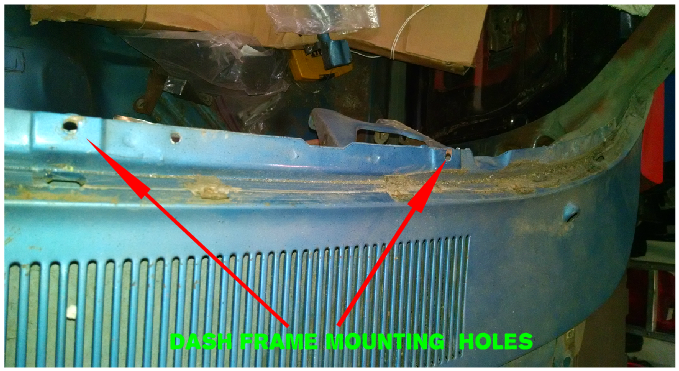
1.The top bolts holding the dash in place are under the windshield gasket and it will require that you pull the windshield and remove the gasket to get to them.
There are a couple of bolts on each side that will need to be loosened up so you can tilt the dash frame back for access. Just take care that it does not fall backward too fast or you might cause damage to some of the connectors.
2.You will need to disconnected your speedometer cable, your heater or A/C cables, your door jamb switches, your harness bulk head connector.
And it really helps to pull your steering column although it is possible to just drop it to the floor pan and remove the studs that the column bolts up to. This will free it from the brake pedal frame.
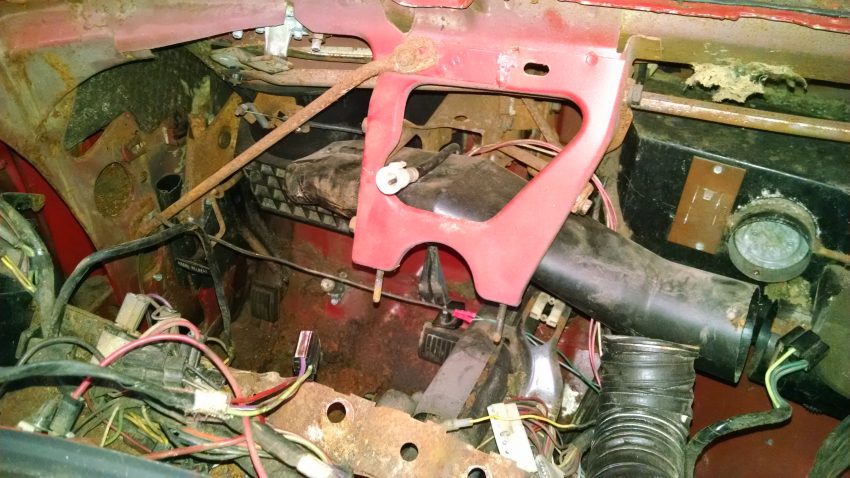
3.You will also want to remember to disconnect the front dash harness from the rear light harness and other options that may run to the rear like defrosters, convertible top or power window harnesses.
You may also have factory or installed speakers and these would also need to be disconnected.
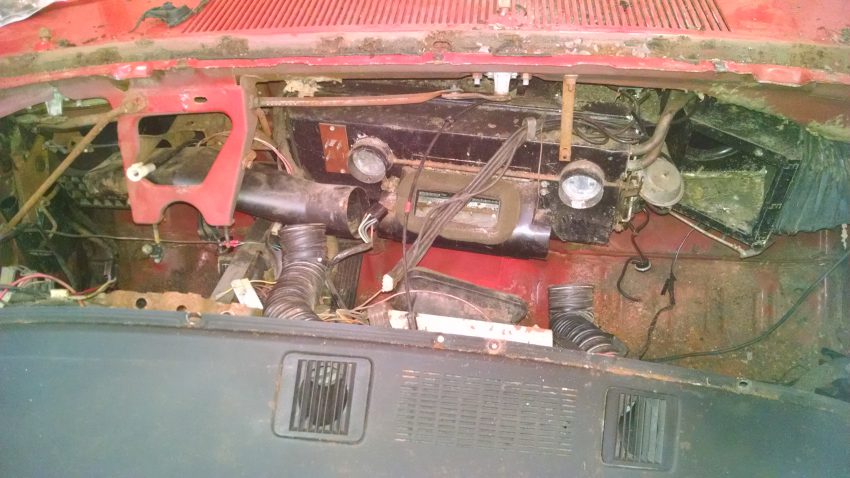
I think you get the idea even though I may have missed a small detail or two.
Ok.. So by now you have your dash out and what do you do with it?
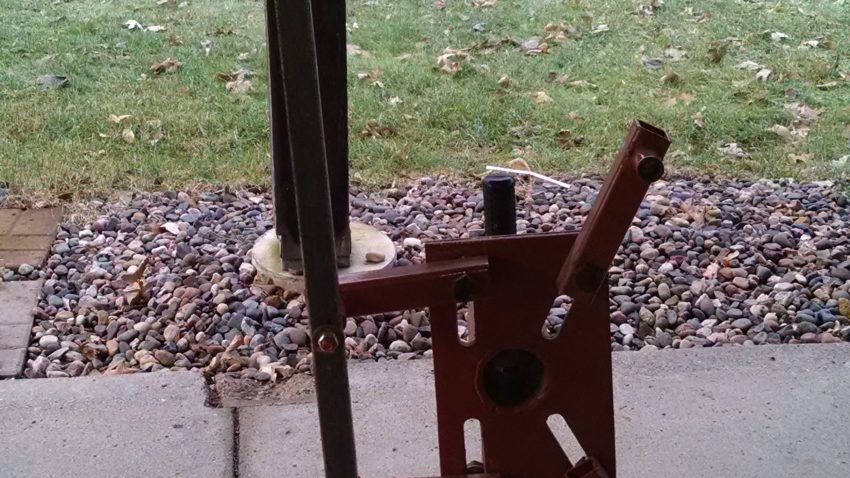
Well.. I mount mine to my engine stand and here is what you can do to make the same helpful tool that will allow you to turn it over and stand it on end for easier access and storage.
It is really super easy to make and cheap if you have an old engine stand sitting around. I am sure you could use a table or other stand with some small adaptations.
Here are the tools you will need to make this simple dash stand.
1. Drill and sharp 1/8 and 3/8 drill bit.
2. A hack saw or other method to cut square steel tube (you should also be able to get this pre-cut to your measurements where you buy it).
3. Wire feed welder ( I know that a welder is not in everyone’s garage but you can get the work done for a few bucks at an exhaust shop or other shop with a welder. It will take about 5 minutes of their time and they might even do it for free)
4. Grinder.
Material.
1. 2-3 inch 7/16 Bolts I used carriage bolts I will explain why.
2. Inch long square tube.
3. Two 1 ½ in washes.
4. Two 3/8 5 ½ inch bolts with nuts and washers and lock washers to attach the 1 inch tube to the engine stand, yours may need to be longer, just check it first.I ended up using all thread and just used extra nuts and washers on the other end.
5. Spray can of enamel paint (optional).
Building your dash stand (The measurements provided are for a 1966-1970 B-Body Mopar).
1. The first step will be to measure the distance between the two lower tabs on the dash frame (where you removed the lower bolts to tilt the dash frame). This measurement should be 59 inches.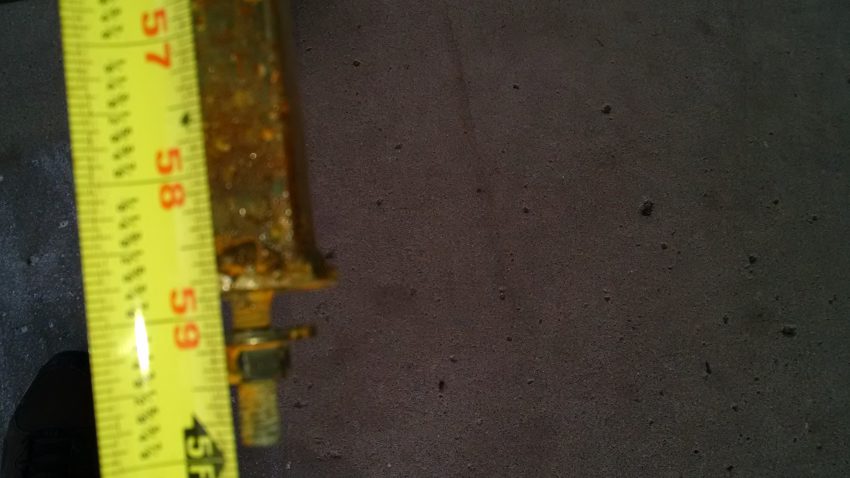
2. Measure the thickness of the two ¾ inch washers subtract this from the dash frame measurement and cut the square tube to that length. Should be about a ¼ inch so 58 ¾ to 58 ½ should work fine.
3. Clean up the ends and make sure that the heads of your 7/16 bolts fit cleanly into the ends of the tube.
4. You will have to weld the 7/16 bolts to the center of the washers as straight as you can get them.
5. Fit the washers with the bolts welded to them to the square tube ends and weld these from the back side ( make sure that the heads still fit into the tubes, so you don’t change the overall length, use your grinder if you have to make them fit).
6. 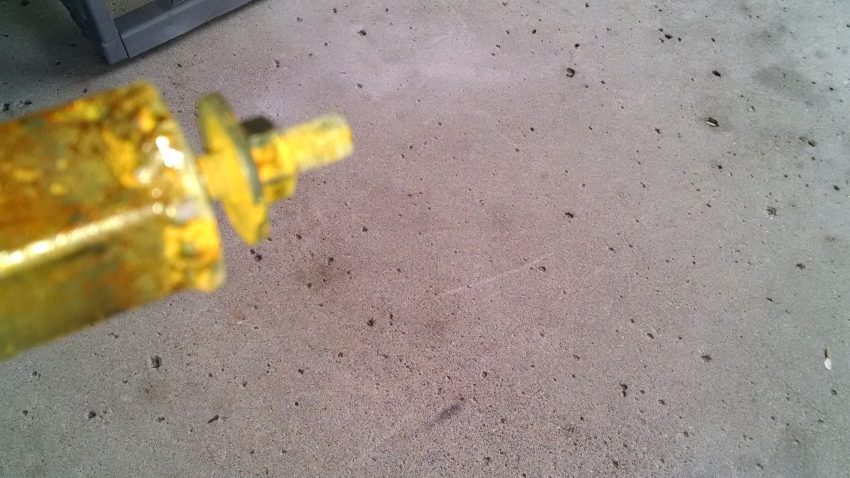 Take care not to gall the threads to much so that the nuts will still go on the bolts easily.
7. After you have both 7/16 bolts welded to the ends you can drill your 3/8 inch holes to mount the square tubing to the engine stand.
The stand usually has adjustable tabs for the various engine sizes, but you will want to center the square tube to balance the whole thing when the dash frame is mounted. I drilled mine at roughly 26 and 33 inches as measured from one end.
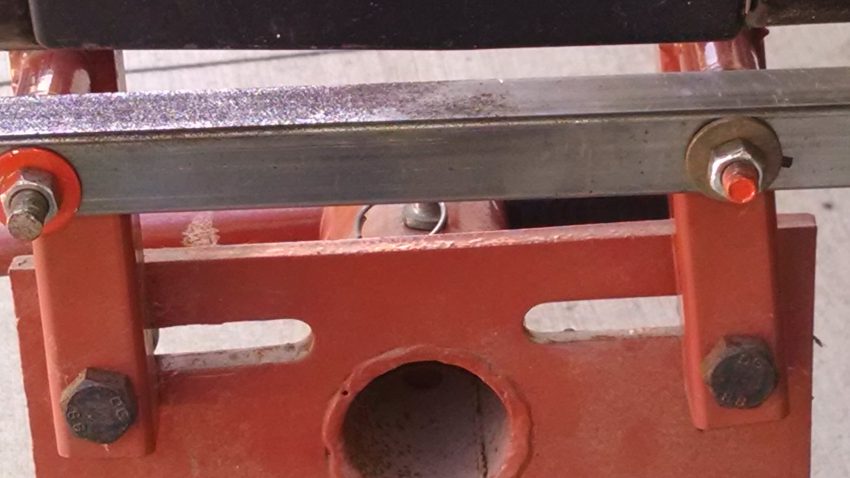
8. After you have things centered, drill your 1/8 inch pilot hole and then follow it with your 3/8 inch bit to drill your engine stand mounting holes.
9. Paint the square tube (optional).
10. Now all you have left is to mount the square tube to the stand using the holes you just drilled, make sure to use flat and lock washers to ensure it stays in place these won’t have to move.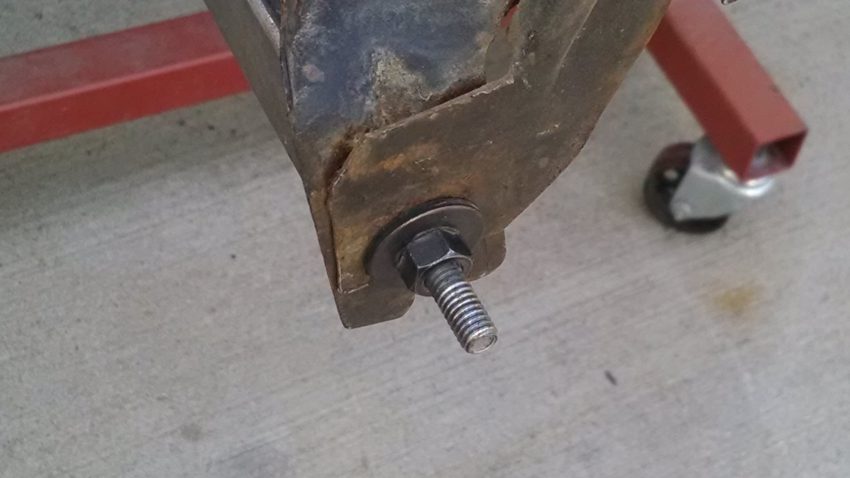
11. When you place your dash frame on the end bolts, make sure that you use some flat washers first. It will help make tilting it a bit smoother.
Some precautions.
It will be much easier to remove and place the dash on the makeshift frame with two people. Also be aware that the dash will be heavy enough to tilt the engine stand over, but if you add some weight to the center leg of the stand it will help to balance the dash with no issues until you have it disassembled. I got around this by using my heavy duty stand with two legs on it.
I built this dash frame holder because it works for me and I hope it will work for you as well, or at the very least inspire you to design and build your own.
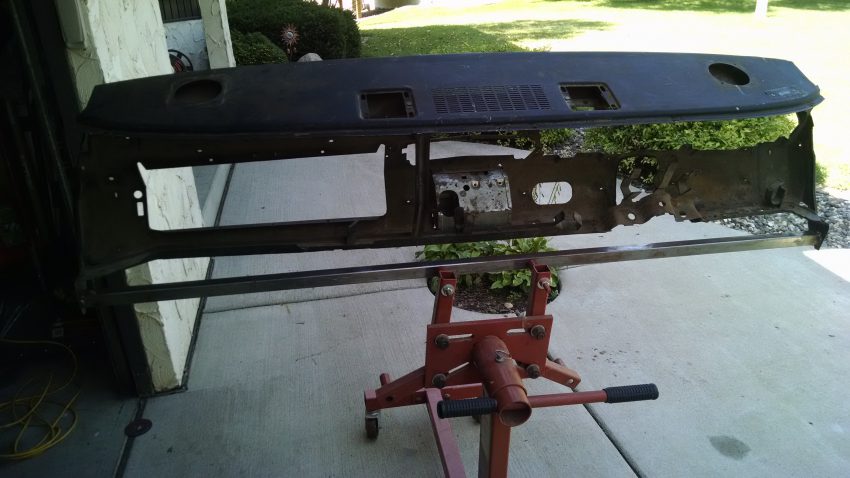
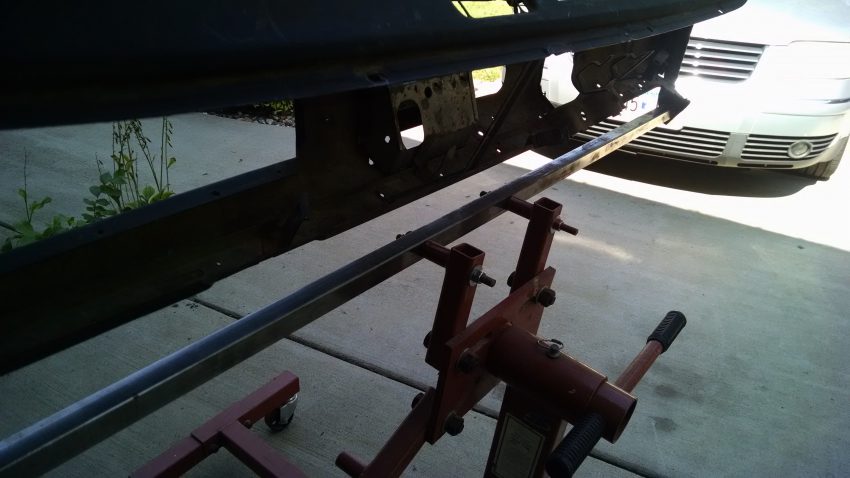
I would love to hear from you if this was helpful to you or if you have built something similar to share with other readers that will make building and restoring their cars easier and on a budget.
Please leave your comment or questions below.
GTXJohnC
Great idea. Not doing this for a living, guys like me, need this kind of info. Looking forward to more info/knowledge. Thanks John!
I saw a similar idea at a Mopar restoration shop here in WA state. They built a wooden saw horse to the correct length and added the bolts to both ends. They would completely restore the entire dash from frame to instruments, ready to move to the car. They had a small saw horse with a carpeted top that sat in the car over the tunnel that the dash sat leaning forward on so they could do all the hooking things back to on the firewall. Then they just tilted the whole thing up and bolted into place.
Made the job so much easier.
That sounds like a pretty good idea as well, having something for the dash to lean against while all the connections are made would really help, especially if it does not scratch the face of the dash. I have used a large piece of foam in the past and it also worked well. If you have a console it is important not to let the dash come against these brackets as they will leave a mark and possibly ruin many hours of hard work. I used my engine stand set up last night putting a friends resto-mod Challenger dash together along with Dakota gauges. The main thing is to use these ideas to help you get your car done and back on the road. I appreciate your post and if you have any more comments or questions I would love to hear from you..
Thanks
GTXJohnC